Processing Jobs in a Windows Service
To start using Hangfire in a Windows Service, you’ll need to install Hangfire packages to your application first. So, use your Package Manager Console window to install it:
PM> Install-Package Hangfire.Core
Then, install the needed package for your job storage. For example, you need to execute the following command to use SQL Server:
PM> Install-Package Hangfire.SqlServer
Hangfire.Core package is enough
Please don’t install the Hangfire package for console applications as it is a quick-start package only and contain dependencies you may not need (for example, Microsoft.Owin.Host.SystemWeb).
After installing packages, all you need is to create a new Hangfire Server instance and start it as written in the Processing background jobs chapter. So, open the source code of the file that describes the service and modify it as written below.
using System.ServiceProcess;
using Hangfire;
using Hangfire.SqlServer;

namespace WindowsService1
{
    public partial class Service1 : ServiceBase
    {
        private BackgroundJobServer _server;

        public Service1()
        {
            InitializeComponent();

            GlobalConfiguration.Configuration.UseSqlServerStorage("connection_string");
        }

        protected override void OnStart(string[] args)
        {
            _server = new BackgroundJobServer();
        }

        protected override void OnStop()
        {
            _server.Dispose();
        }
    }
}
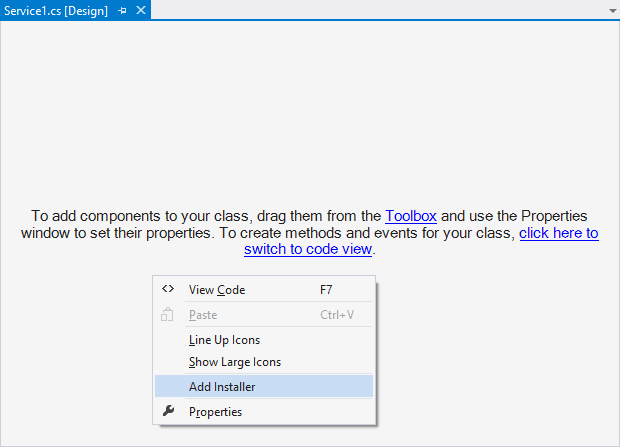
If you are new to Windows Services in .NET projects, it is always better to google about them first, but for quick-start scenario you’ll need only to add an installer and optionally configure it. To perform this step just go back to the design view of the service class, right click on it and choose the Add Installer menu item.
Then build your project, install your Windows Service and run it. If it fails, try look at your Windows Event Viewer for recent exceptions.
installutil <yourproject>.exe